MAKING CHANGES TO WORDPRESS PAGES
All information on your website is held in Containers (with blue header strip) and Boxes. This allows your website contents to adapt seamlessly to any sized screen from laptop to mobile phone.
Steps to edit text and images
-
-
Make sure you are logged into your Admin (click here for instructions on how to login)
-
Once you are logged in select “Pages” on the left hand side. Then select the page you want to edit from the list.
-
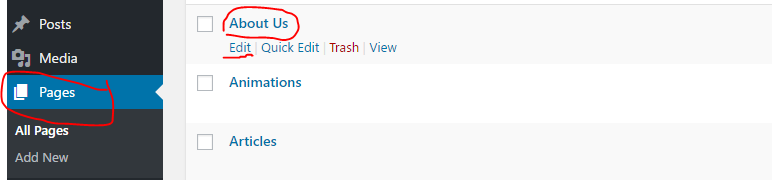
3. To make changes to text or an image move your mouse over the container to be edited and click on the PEN NIB icon in the centre.
(If code is showing on the page please see NOTE at the bottom of this page about Fusion Builder.)
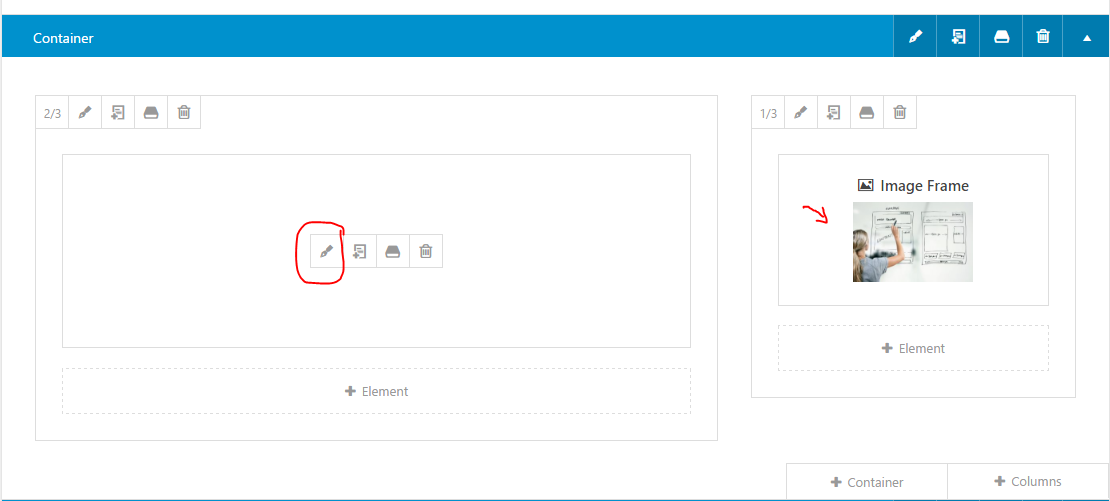
4. To change the TEXT click on the Edit (pen nib) button by hovering your mouse over the text box
A dialogue bow opens that looks like a word processor. Edit the text as your are used to in Microsoft Word.
5. To change the IMAGE click on the Edit (pen nib) button by hovering your mouse over the image box
The image dialogue box is fairly self explanatory with an UPLOAD IMAGE or REMOVE button to the top right of the screen.
6. After making changes click on SAVE on the bottom right of the box to close and save to the Editing window.
7. Then click the blue button on the right that says “UPDATE.” This will publish your changes to the web.
8. To see your changes, make sure you browse to a new tab and refresh your website and check the changes
You can also click on the PREVIEW button on the right of your screen (just above UPDATE).
9. When you’re done editing your website, log out by clicking on your username in the top gray navigation bar and select “Logout” from the menu.
ADDING A NEW CONTAINER
The Containers on your website hold the text, images and forms on your website so that it displays correctly on all sized devices.
Containers always have a blue strip along the top.
All Containers have an edit button and a clone button.
To create a new Container first make sure you are logged into your website
- Login to the Admin
- Click on Pages in the left hand menu
- Click on the name of the page you would like to edit.
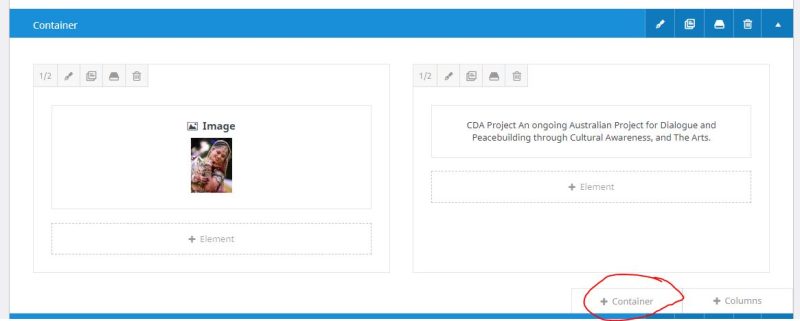
CLONING AN EXISTING CONTAINER IS THE EASIEST METHOD
-
Scroll to the place where the new container is to appear
-
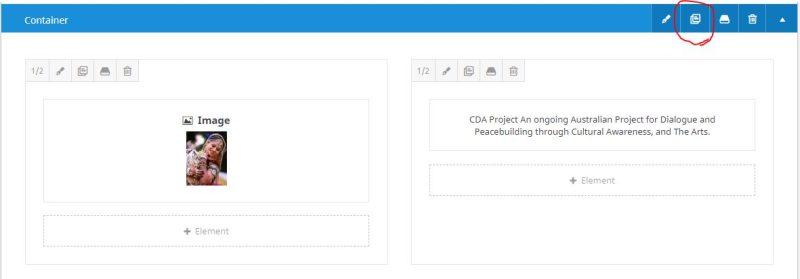
Click on the Clone button for an existing container and then replace the text and image components inside that Container
-
The clone button is circled below
-
To change the text click on the Edit (pen nib) button by hovering your mouse over the text box
-
To change the image click on the Edit (pen nib) button by hovering your mouse over the image box
You will see the REMOVE button for the image and then INSERT to go to the image library to upload a new image.
-
If you make a mistake simply refresh the page and start again.
-
When you are happy with your work click the blue UPDATE button to save your changes to the web**To move a container to a new location on the page: Click on the blue bar and drag a Container anywhere on the page]
TO ADD A NEW CONTAINER FROM SCRATCH
-
Scroll to the place where you would like the new Container
-
Hover your mouse over the bottom left hand corner of the Container above
- When you click on Container the Select Container options box will open. Select the layout configuration you like.
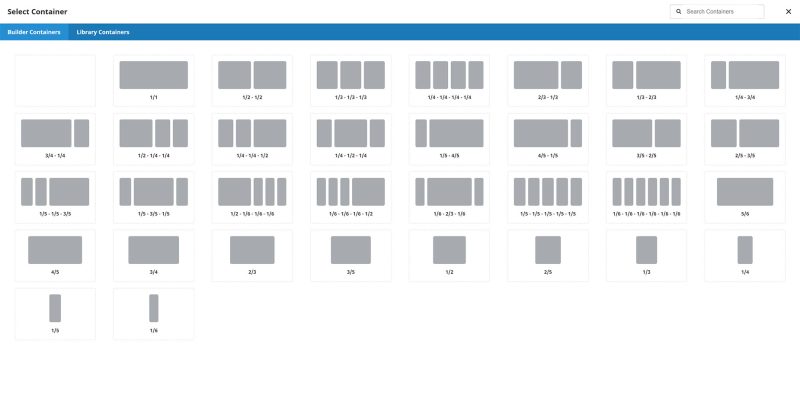
- To change the size of any Layout Box simply click on the top right hand corner fraction button of any layout Box.
Change the fraction to any size box you need.
Make sure you make the fractions of all the boxes add up to 1, otherwise they will drop down to the next line.
CREATING A NEW PAGE IN WORDPRESS
1. Login to your Admin
2. click on Pages in the left hand side menu
3. Click on the “Add New” button up the top
4. Type in the Title of your page (make it human and Google friendly)
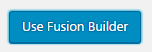
5. Click “Use Fusion Builder” if you wish to insert text and images in containers and move them around
6. Insert your text and image (images must be resized to 800 pixels wide if they are any larger)
7. Click “Publish” on right hand side
REMEMBER: You will not be able to find your new page in your website until you add a link to it in a menu
IMPORTANT NOTE: A plugin called Fusion Builder has been installed on your website. If code is showing on your Admin page you need to turn Fusion Builder on by clicking on the Fusion Builder button up the top of the page.